
How to install the Wasteland Roof Rack — no-drill, 45 minutes
Fuku Garage · June 2026 · 8 min read
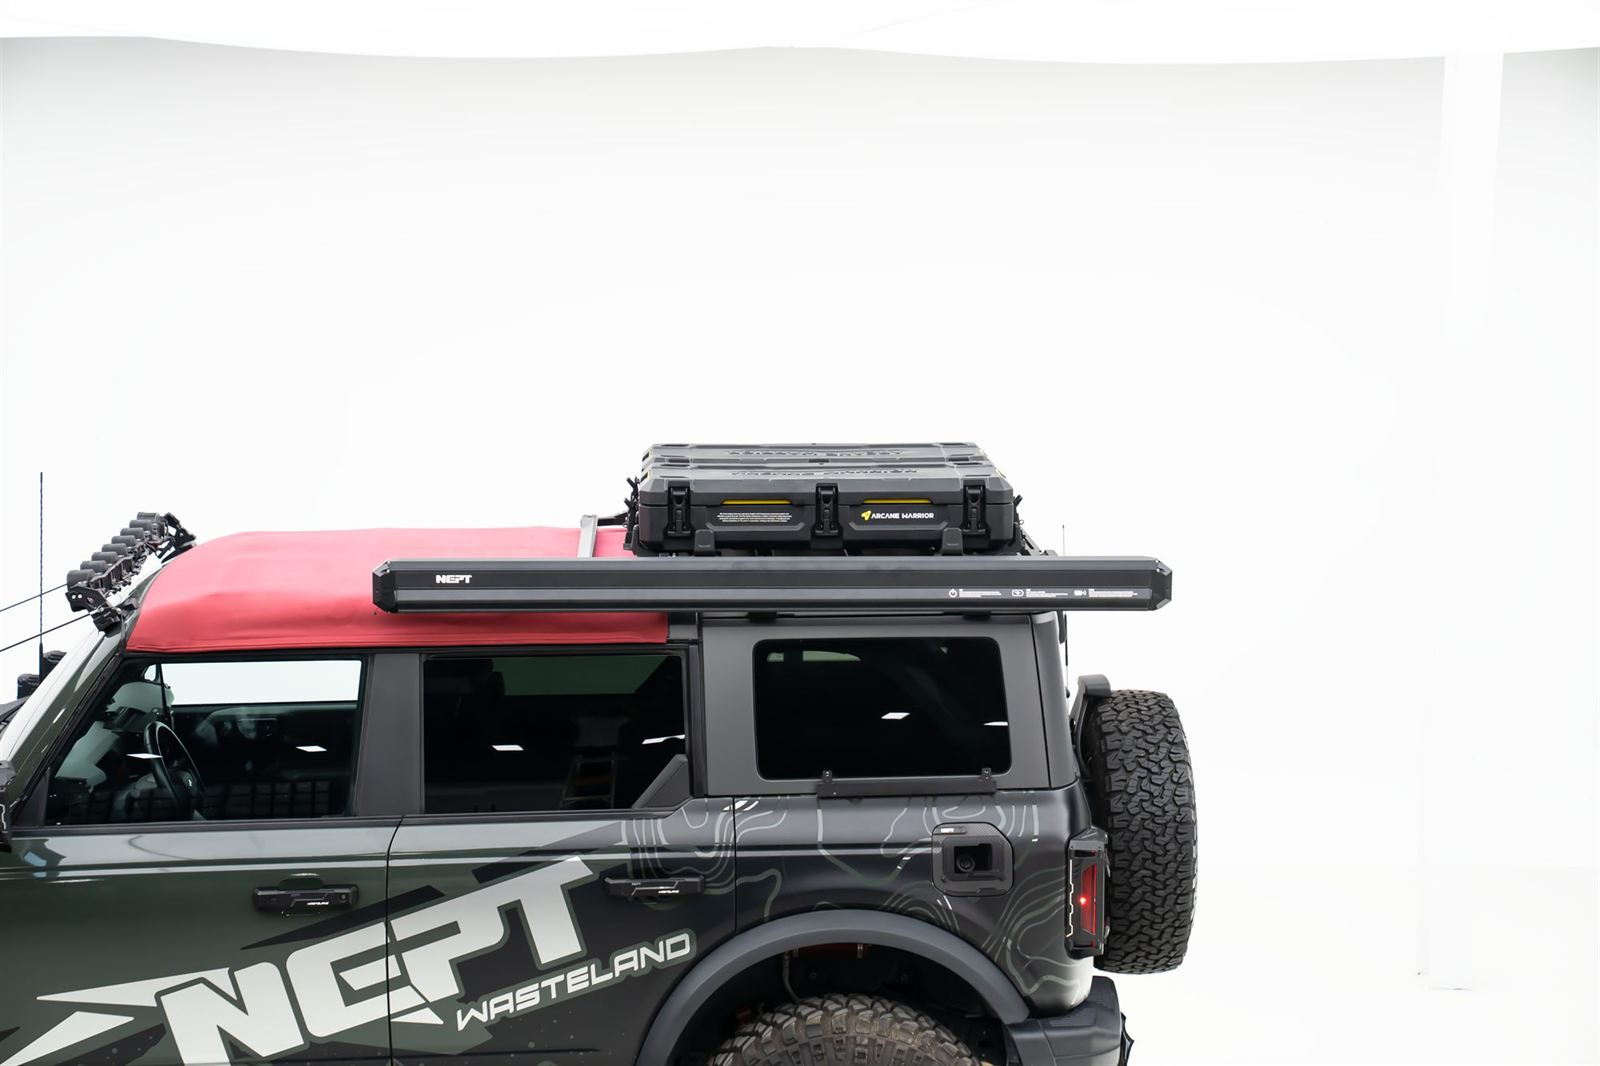
TL;DR — direct answer
The Wasteland Roof Rack bolts to the Bronco’s factory hard-top mounting points — no drilling. Torque the feet to 18 Nm, set the ladder to the driver-rear leg, and you’re done in about 45 minutes with basic hand tools.
How to choose
Start by seating the rack feet on the factory rail points and hand-threading all bolts before torquing any — this lets the frame self-align and prevents binding. Work diagonally, snugging opposite corners in turn.
Torque each foot to 18 Nm (13 lb-ft) and re-check after your first drive; new gaskets settle. The side ladder mounts to the driver-rear leg with the supplied bracket — align it flush to the body line before final torque so it clears the door swing.
Top picks


FAQ
Do I need to drill?
No — the rack uses the Bronco’s existing factory hard-top mounting points. No drilling or cutting.
What’s the load rating?
The platform is rated to a 160 kg static (parked) load and a lower dynamic load while driving — see the product page for the exact figures.